
When we were living in Toronto, my hopes and dreams of becoming a home owner quickly came to a squashing end. I finally accepted the fact that we would be renting forever. Don’t get me wrong, renting provides a lot of financial flexibility and you can do very well financially renting (read my blog on Rent vs Buy – That is the Question to learn more). BUT…there was still something about ownership that that I longed for. Having my own space that was MINE, not having to worry about landlords, and of course putting money into an investment each month instead of having thousands of dollars go towards rent. Well, our time is FINALLY here (well almost). Now that we live in a much more affordable city, we have been able to buy our first home! We weighed our options between buying a pre-owned home and building new (a whole other blog topic), but in the end we decided to build our very first home.
I’ve watched my parents build three homes and thought the process would be easy peasy…right? Wrong! There is SO much to learn throughout the building process that can be quite over whelming at times. I recently took a poll on Instagram to see if YOU would be interested in our experience building a home in hopes that you can relate/learn from us. Turns out that 94% of you want to know what upgrades we went with a why. This series of blog posts is NOT at all intended to brag about our new home or show-off, I simply hope that you can learn from our experience and take something away from it.
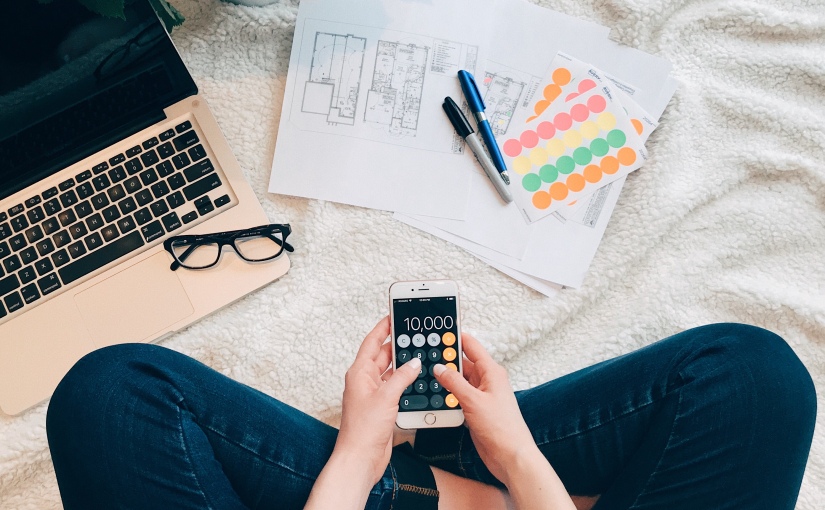
My first piece of advice for anyone building a home is to create a BUDGET. The cost of building a home does NOT end with the purchase price. You need to budget for closing costs, lawyer fees, land transfer tax, furniture, fixtures, and of course UPGRADES! Honestly, I did not foresee how much we would spend on upgrades. Throughout our process we had to adjust our budget because the upgrades were starting to get out of control. We’ve spent approximately $15,000 in upgrades and we were conservative with our upgrades!
When it came to selecting upgrades we had to remind ourselves of two things. 1. This is our FIRST home…we don’t need to go crazy. 2. Upgrade things that you can’t change later on. When it comes to upgrades, it’s easy to be swayed into getting aesthetic upgrades (counters, flooring, etc). But remember…these things CAN be easily changed later on. Our house came with hardwood floors throughout (except the wet areas) and an allowance for granite counter tops. We decided to spend our granite budget in the kitchen because we want the kitchen to be the spotlight of our house. For our bathrooms we skipped the granite upgrade and are sticking with laminate because laminate can be easily swapped out for something nicer when we decided to update the bathrooms. Plus, laminate has come a LONG way since I was a kid and you can get some very nice laminate counter tops. The only aesthetic upgrades we treated ourselves to were:
- A stone fireplace in the great room
- Pot lights in the great room, kitchen, and showers,
- A fiberglass front door (we got an amazing price for this upgrade!)
- A partially finished basement. As we have open stairs to the basement we partially finished the basement near the bottom of the stairs so that when you look down it looks as though the basement is finished and you don’t look down to a concrete floor.
These upgrades were VERY reasonable so we felt comfortable including these in our budget.
We spent the bulk of our upgrade budget on permanent features of the home that cannot be changed after the fact, or would be more costly to put in afterwards. Here is what we upgraded:
- We added two windows in the basement and elongated all the basement windows to let in more light
- We added two transom windows in the great room to again let in more natural light
- We added central vac
- We upgraded our oven/stove, bbq, and dryer to natural gas (the cost includes installation). Gas is less expensive to operate than electricity so in the long run we will be better off.
- We upgraded the fridge waterline from plastic to metal as this is a better quality water line and we don’t have to worry about the plastic degrading.
- We upgraded our exterior windows, doors, and patio door frames to color to match our brick and stone (the standard color was white)
- We upgraded our stair case from wood to rod iron spindles as this would be difficult and costly to upgrade later on
So, if you’re building a new house (or renovating) think BUDGET and PERMANENT. Instead of spending your money on things that just look good, try to think long term and select upgrades that can’t be changed or added afterwards (like windows) or things that are difficult or costly to add down the road (like gas hookups for appliances or stair case renovations).
If you have any tips for selecting upgrade or building a new home I would LOVE to hear from you! Comment below to share your tips and tricks!
xo


